Posts

Image
More planking stock going on, a quick fair of the chines and some fiberglass tape added to keep water out as the boat is to  move again.   
Image
After a couple months away I got back to it, finishing up the planking.   
Image
Planking, with the chines glued in and beveled it was time to get some of the planking stock on the boat. This happened in one day getting the topsides and bow plates on.  Again removing any squeeze out from the inside of the boat. this took a fair amount of time.  To this point it was time to move the boat and head down to warmer weather for a few months.   
Image
With the frames set up and a bit of trimming it was time to start the process of fitting the chines and tying everything together.  A big portion of the time spent here is cleaning up the epoxy.  It saves so much time to make everything clean and neat from the start of the project.    
Image
Setting up the frames was a walk in the park, the speed at which one can put together one of these kits is pretty crazy.  With the Frames set up it was time to get those cockpit sides in to find the location of the transom.  I think I had most of this done in a single day.   
Image
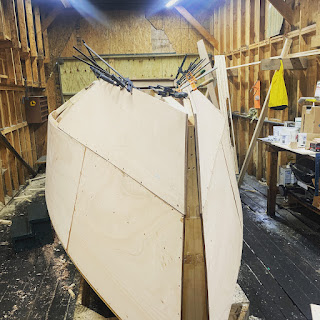
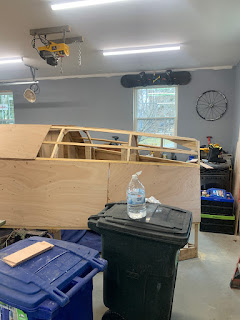
Making the frames took about a week and a half, got one done a day, I then started working the white oak for the keel supports and the cockpit sides. Before setting up the strongback I also assembled the side panels before i would run out of space. With the frames finished it was time to start setting up the strongback which i glued down to the train tracks running thru my shop.  

Assembling Station and Frames

Image
  Next came organizing and cleaning up parts to start assembling frames. Everything was held in place with Cauls and clamps.  West system used throughout. When working with epoxy I wet out the pieces twice and let it really soak into the grain.